 My readers asked such great questions about learning stations after my recent post, that I decided to write up a quick “How To” for those who are new to learning stations. In this previous post I commented on some of the reasons why I find learning stations to such a valuable teaching tool. Today, I’ll just mention a few practical considerations. These are the steps I suggest when designing learning stations.
Step 1: Decide how many stations you’re going to have. In some cases your resources will determine the number of stations you must have. In my classroom, I have eight computers (including mine). Because I like to include a computer station, I can never have groups larger than 8. This means that if I have more than 32 students, I must have at least 5 stations.
Step 2: Determine the maximum number of students you will have in each group. (In other words, divide the number of students in the class by the number of stations.) This step is important because it will help you determine how many sets of materials you will need at each station. I usually organize my stations according to language skill, sometimes with a game or computer station thrown in. Some of my station activities are done with a partner (such as the speaking) or a small group (some of the games), so I need to have the appropriate number of manipulatives for the number of groups. For example, in the French I introductory unit, I will have about 8 students in each group. I’ve instructed them to divide into groups of 2-3 for the games, so I will need at least 3 sets of each card game that I’ve created (if there’s only one game at the station). If there is more than one game, the subgroups might be playing different games, so you might not need 3 sets of each one. However, keep in mind that if there is more than one activity at the same station, the students will not finish at the same time, so you need to have a couple of extra sets. For example, if a group of 8 is divided into 3 groups (3 + 3 + 2) to play Go Fish, Memory, and Loto, it would not be enough to have one set of each game. The Go Fish group might finish before the Memory and Loto groups, and would not have anything to do. Stations work great for engaging students, until someone doesn’t have work to do. I usually have a few enrichment activities, but students will resist starting something else when they know that they can play a game in 2-3 minutes. Three minutes is a lot of time! My students tease me for my now famous saying, “You still have 3 minutes, that’s 16% of our class period.”
Step 3: Decide the logistics. In this French I unit, I wanted to spend only 2 days on each mini-lesson and I wanted to have some time to introduce the vocabulary at the beginning of the first day as well as a formative assessment at the end of the second day. As a result, I determined that I would have 30 minutes per day to spend on stations. Therefore, I planned four 15-minute stations that would be completed over a 2-day period. At other times, I create 48-minute stations and the students will do one per day for 4 days. Note that it is vital for logistical purposes that kids stay in the same group every day and that the order of rotation is decided in advance and remains unchanged. For example, if on the first rotation Group A is Speaking, Group B is Reading, Group C is Playing, and Group D is at the computer, then on the second rotation, they each group moves one, so Group A is Reading, Group B is Playing, Group C is at the Computer and Group D is Speaking. On the third rotation, they will move in this same order. Once I have assigned each student to his/her first station, I usually just have them follow the order in the packet, with the understanding that when they get to the last station, they’ll go to the first one. Another logistical consideration is absent students. I usually tell them to join their group on their return, and schedule time for them to make up missed station work, so that I don’t end up with too many kids at one station. The problem, of course, is if they missed the Speaking Station. If I’m using the Speaking Station for formative assessment purposes, I might have an absent student move out of order if I won’t max out the number of students in a group.
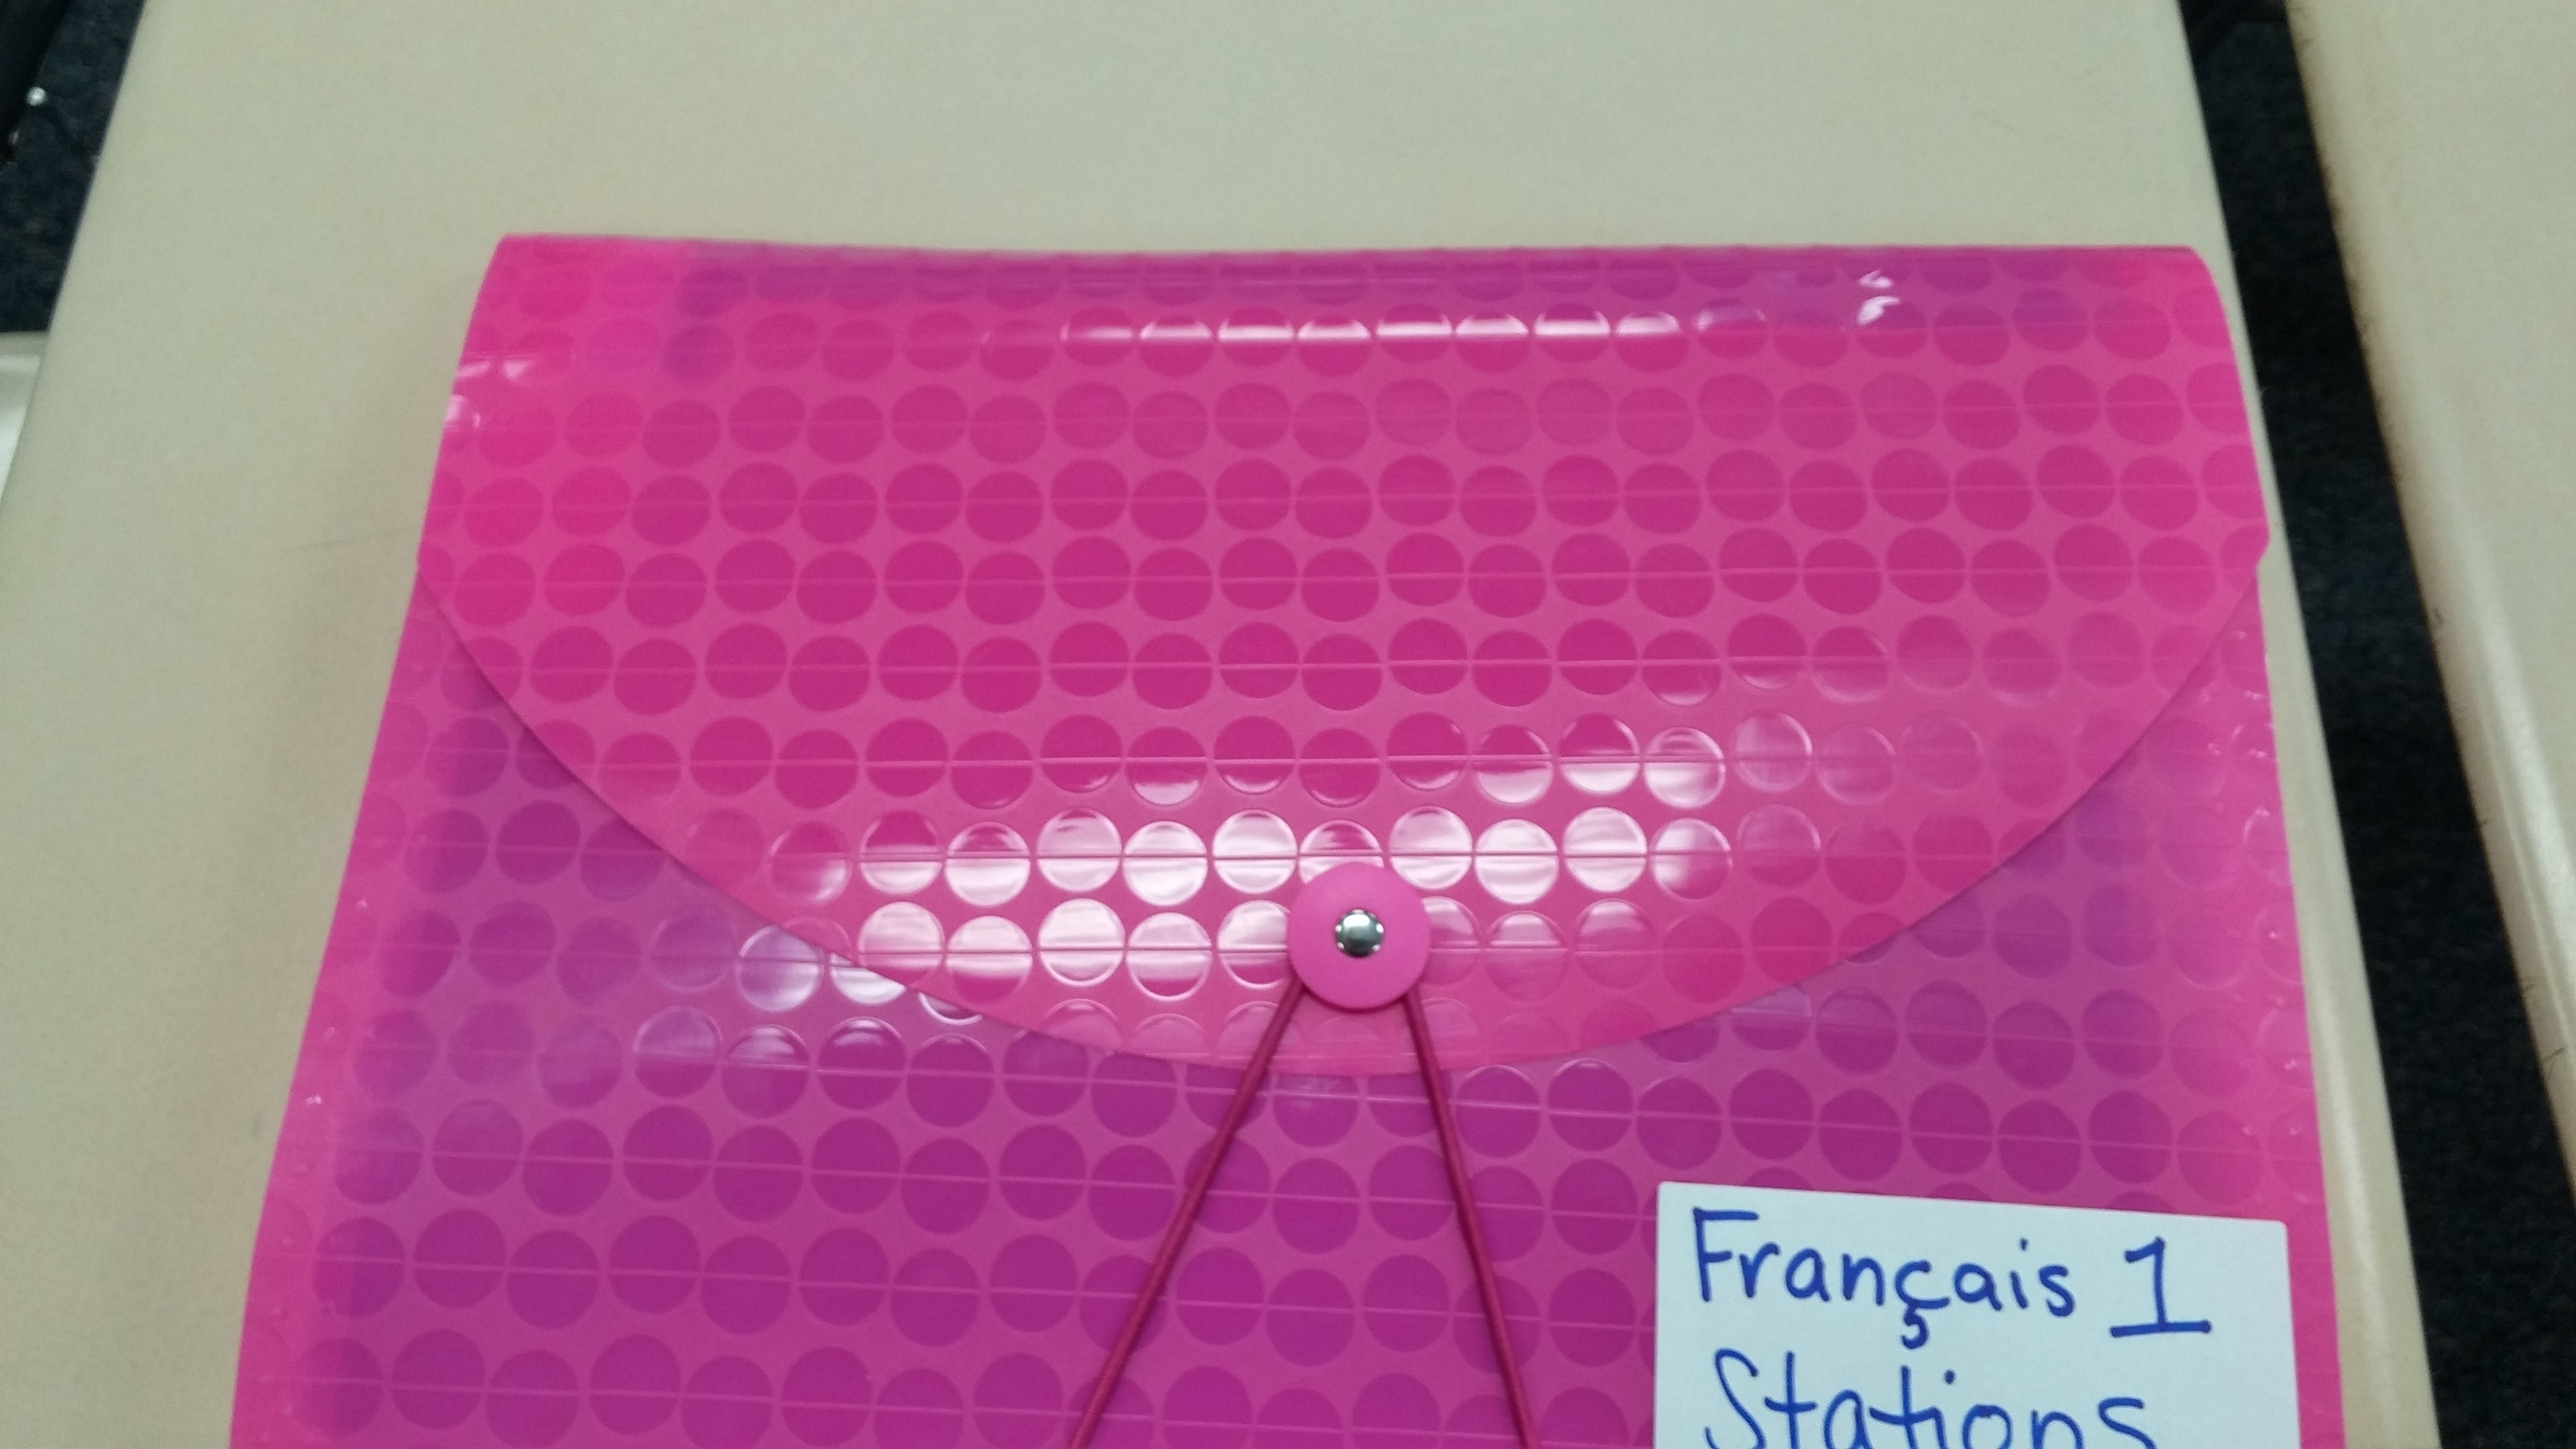
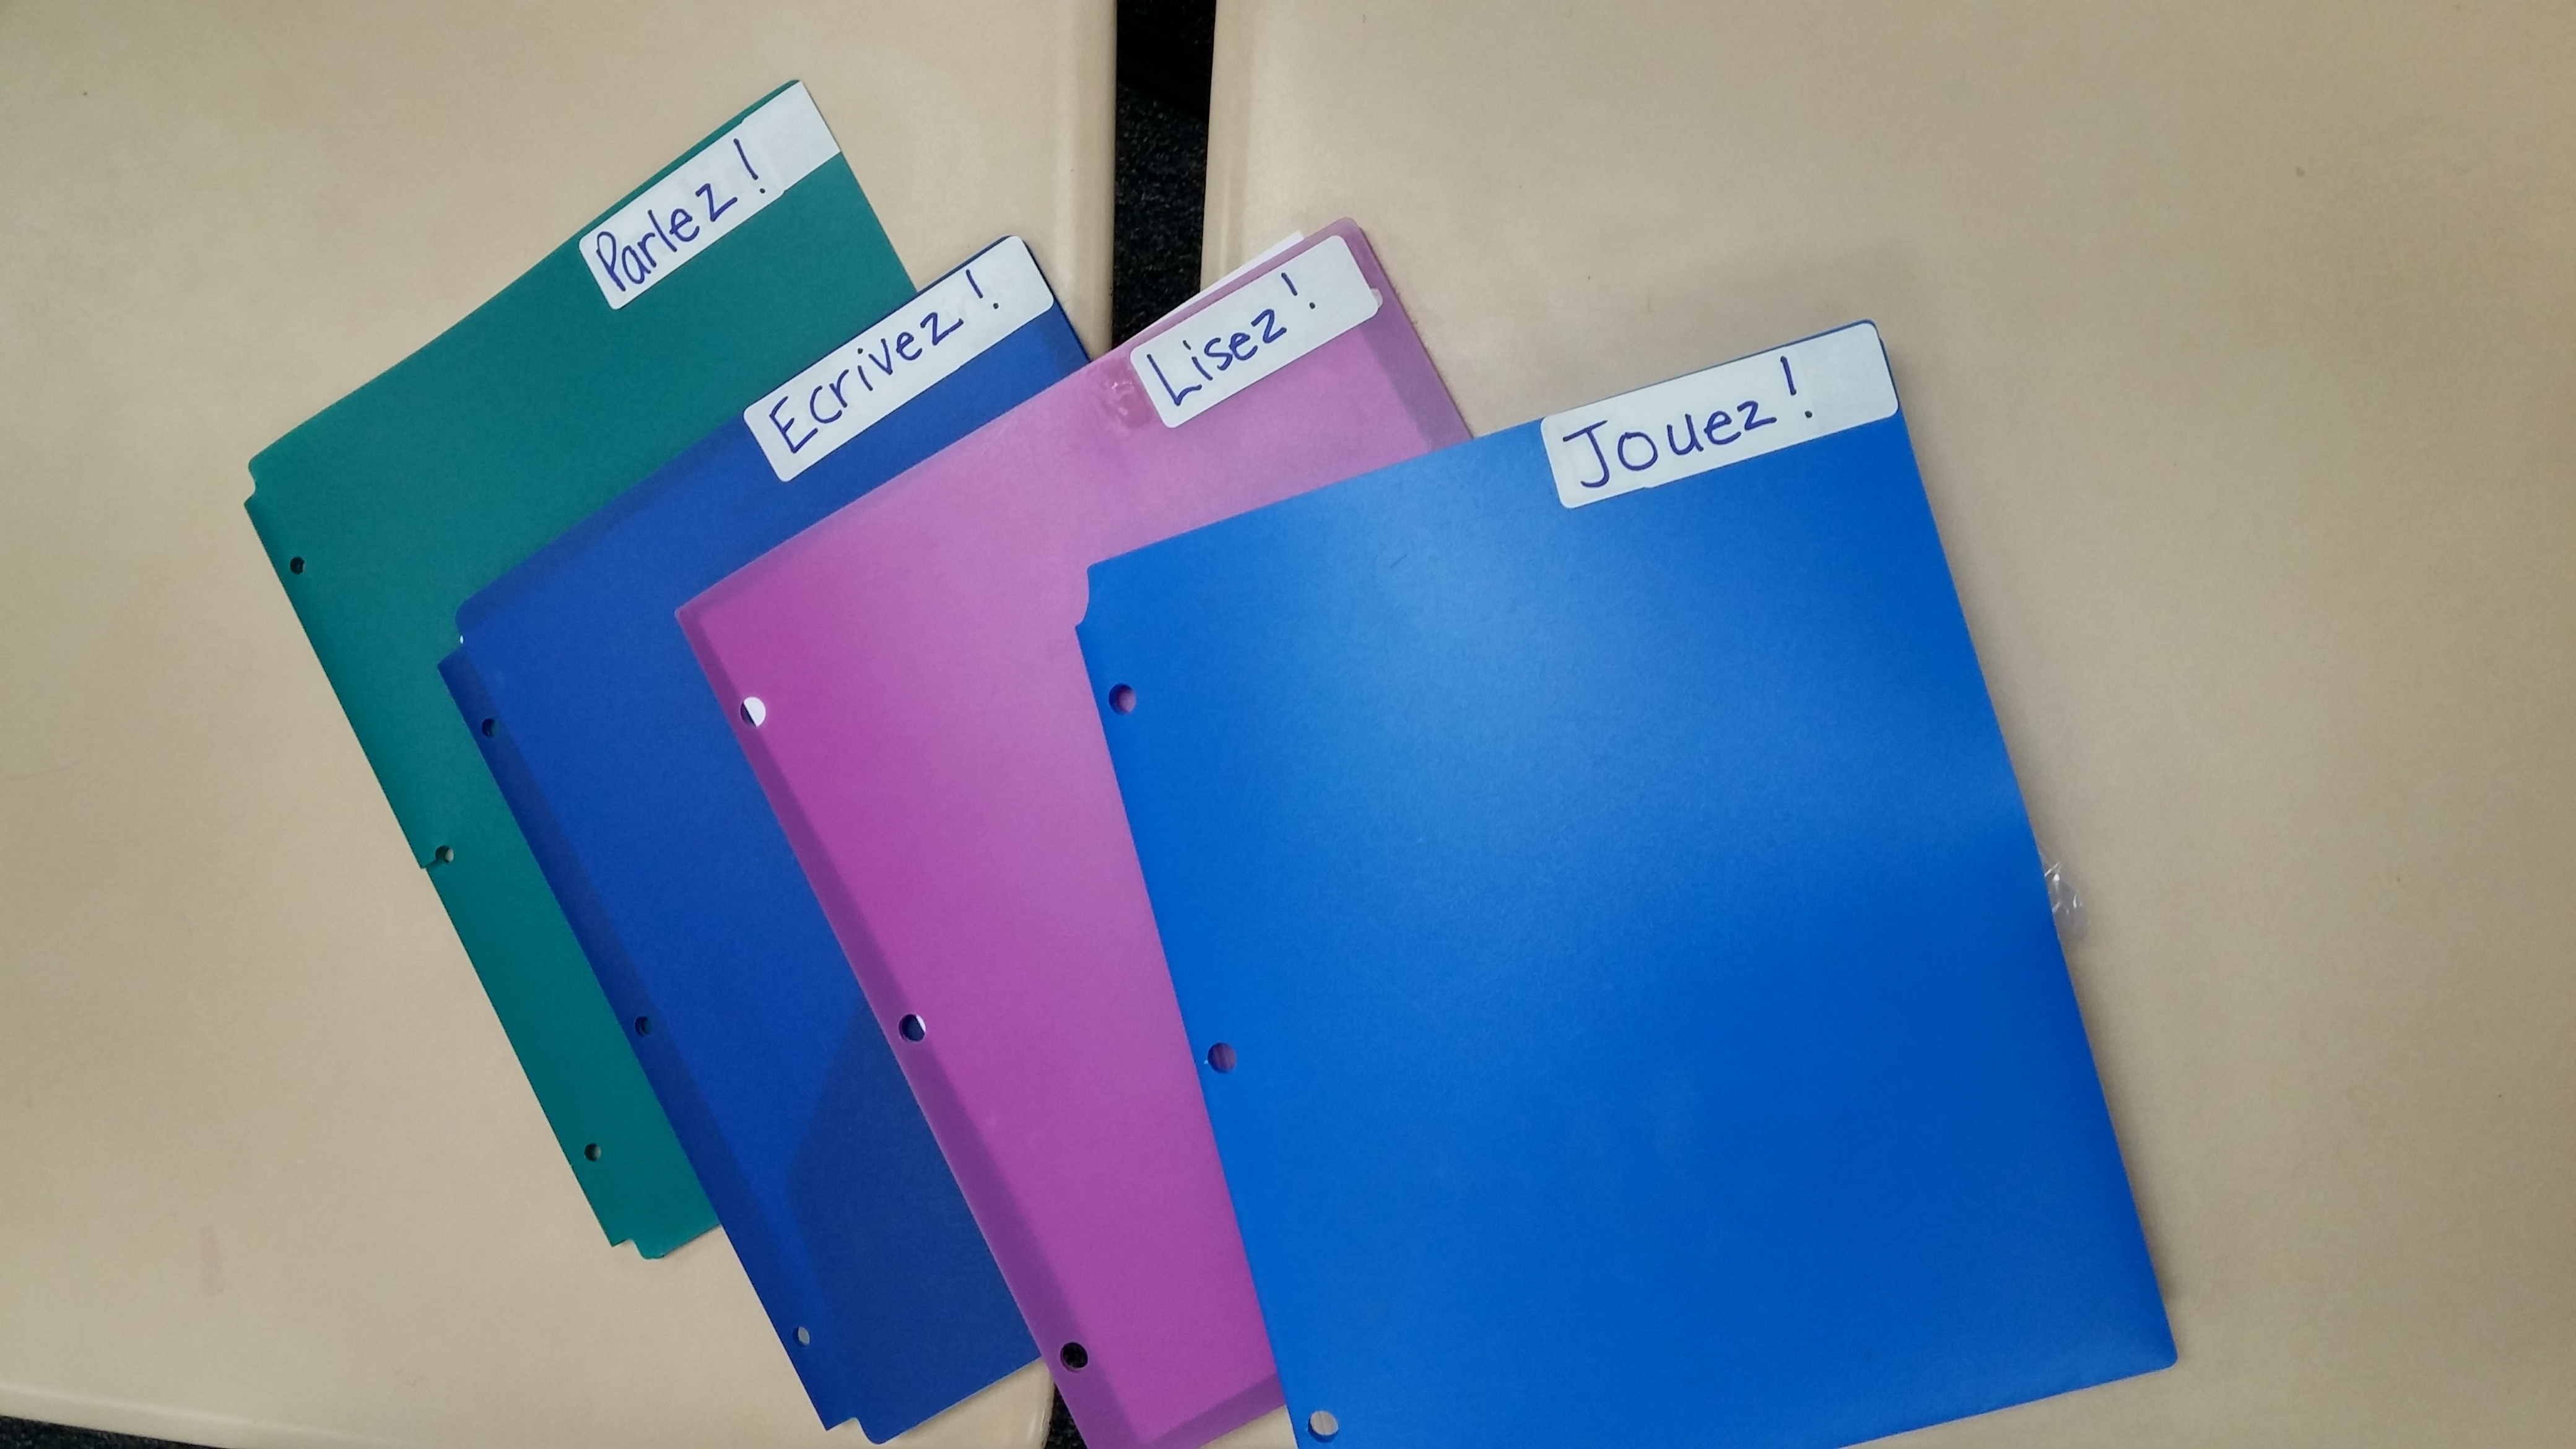
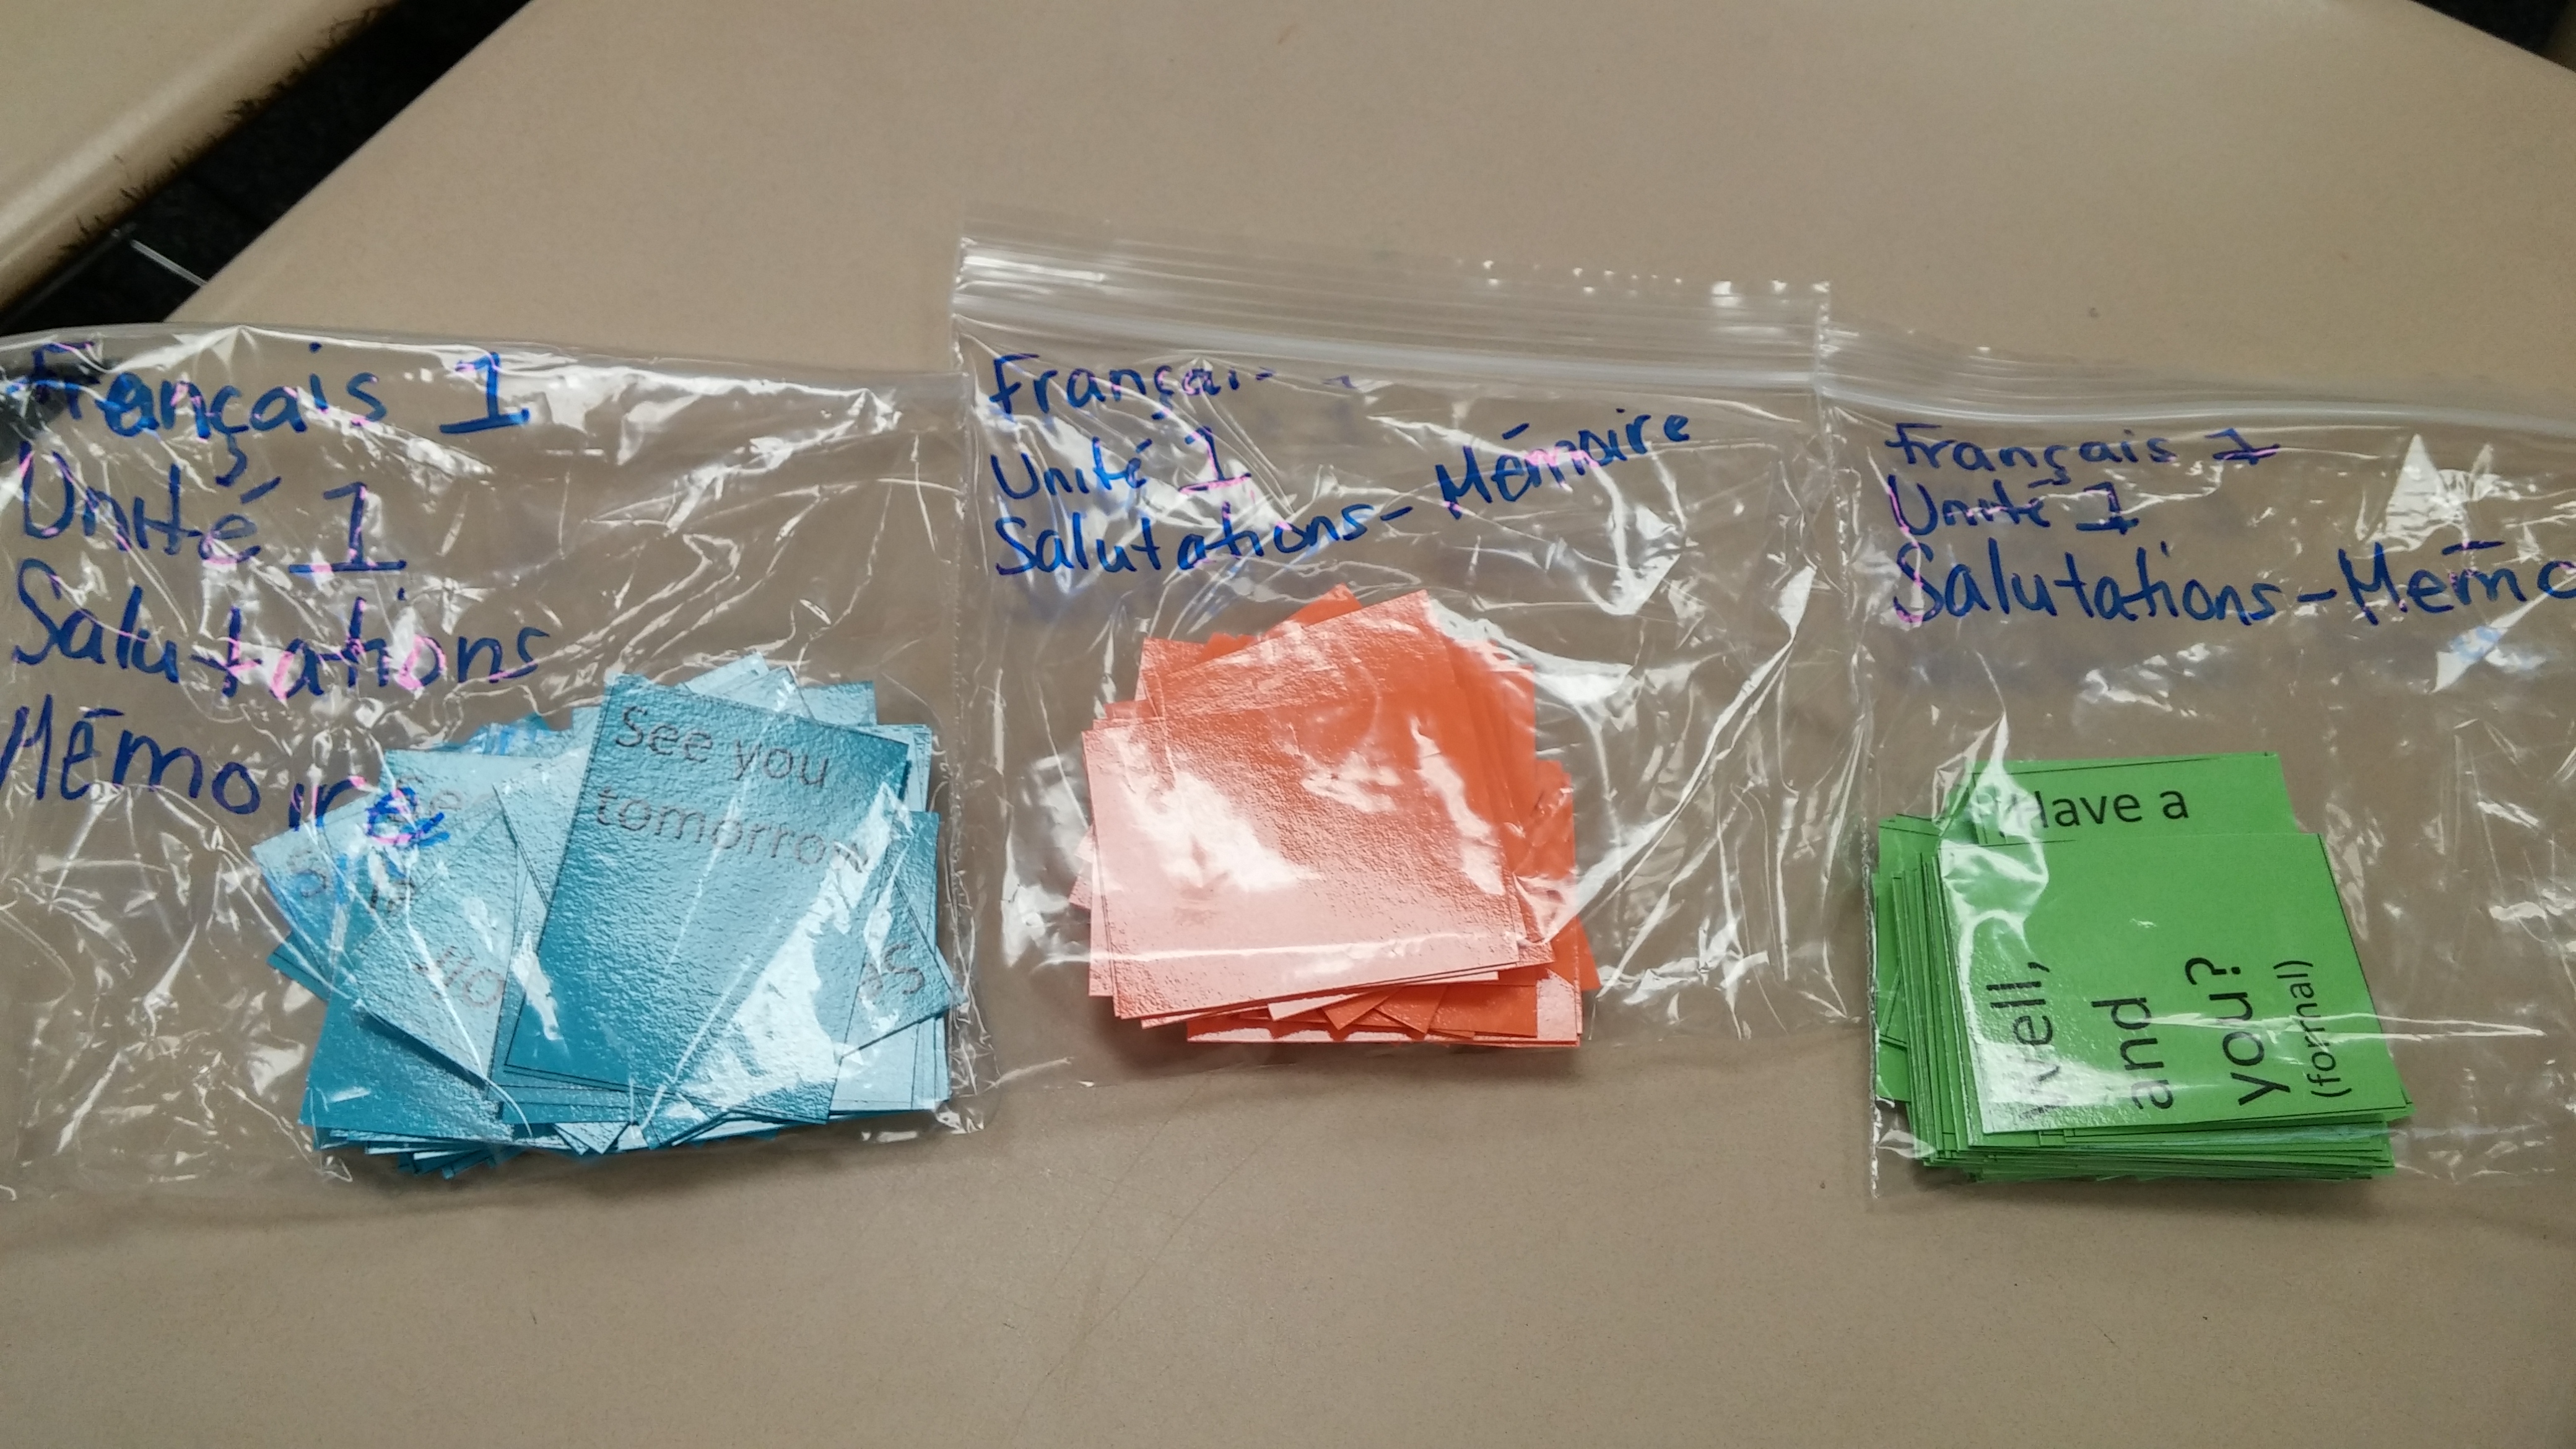
Step 4: Design the station activities. Stations allow me to implement so many resources that I wouldn’t be able to use otherwise, so I try to take full advantage of the fact that I don’t need 30 copies of any materials I use. Authentic books and games, realia, teacher-created or purchased manipulatives, etc. can all be incorporated into stations. I try to create more activities than I think the students will have time to complete, in order to avoid downtime (see above.) I also suggest organizing the materials in a way that increases time on task. For the computer activities, I put all of the links on Canvas (learning management system) so the students can just click on the links. The materials for each of the other stations are in a folder labeled with the name of the station. For the Speaking and/or Game station, each set of manipulatives is in a baggie which is labeled with the name of the activity. (Hint: Make each set a different color so that if you find a card that isn’t in a baggie, you know which set it belongs to.) Keep in mind that each group will be starting with a different station, so the stations can’t be dependent on each other. In other words, you can’t have the Writing students write about something they read at the Reading station, because some students will be at Writing before Reading.
Step 5: Create your groups. Depending on your own objectives, you might choose more homogenous or heterogeneous grouping. I do try to have even-numbered groups when possible. This allows everyone to have a partner at the speaking station (unless someone is absent). Therefore, I might have a group of 8 and one of 6, rather than two groups of 7. I usually try to have students work with students other than those they are seated near during station time so that they can get to know each other. As a practical matter, I like to use the Popsicle sticks that I make with students’ names to organize them into groups before the first station day. It helps me to visualize the personalities in my groups if I have this manipulative.
I hope this post has cleared up some of the questions that people had. If not, keep those questions coming and I can address them in a future post!